Key takeaways:
- The manufacture of precision aspheric optics depends on effective asphere metrology.
- Asphere metrology is a complex field that requires advanced techniques and equipment.
- State-of-the-art metrology enables us to determine the surface quality of any asphere
Asphere Metrology
If you’re upgrading your optical system by replacing spherical lenses with aspheres, you want to know that those spheres will function as expected, always. Although optical systems that include spheres are typically simpler and may provide higher resolution than those that rely on spherical lenses, aspheres are far more complex to manufacture and measure. There are, however, advanced methods that allow us to determine the curve of an asphere precisely and quantify the surface quality.
What is an Asphere?
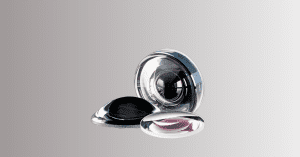
An asphere is an optic with a surface profile that cannot be defined as a piece of a sphere. It has a varying radius of curvature and can be used to correct for spherical aberration. An asphere can be defined by the polynomial shown below.

Here we’ll examine some key methods and techniques for determining the surface quality of an aspherical object. Some are contact-driven, others are contactless.
Contact Profilometry
In contact profilometry, a thin probe or stylus traces a path across the surface of a lens, then transmits its movements to a recording and analyzing device. As the probe moves over peaks and valleys, changes in the height are registered, and the surface roughness can be elucidated. A contact profilometer is primarily limited by the size of the probe.
Optical Profilometry
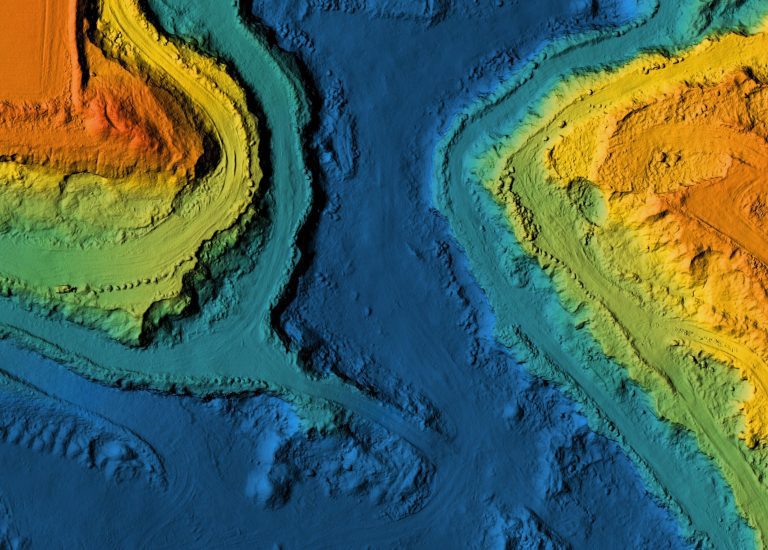
Optical profilometry is an alternative form of profilometry, in which a laser or alternate light source is used in place of the probe. Optical profilometry can, theoretically, be very effective, and rough spots as small as a nanometer can be detected. In practice, orientation of the light to the surface is critical a carefully controlled environment is needed. It is also important that the surface can reflect light effectively; otherwise, contract profilometry is a better choice. Types of optical profilometry include stitching interferometry, digital holography, and laser triangulation.
Stitching Interferometry
Interferometry of a planar surface involves quantifying the surface in reference to a planar reference wave. The surface accuracy of a spherical surface can be quantified with reference to a spherical wave. But neither of these methods is of any use when it comes to measuring aspherical surfaces, which do not conform to either a planar or spherical wave. Instead, we use a method called stitching interferometry, which involves doing piece-wise standard phase shifting interferometry of subsections of the asphere. The information gleaned from these sectional interferometry can be combined by computer analysis and errors noted and removed. Stitching interferometry is a highly effective, though costly, method of determining surface roughness. It is less effective in measuring aspheres that contain steep slopes or that have geometries very different than spheres.
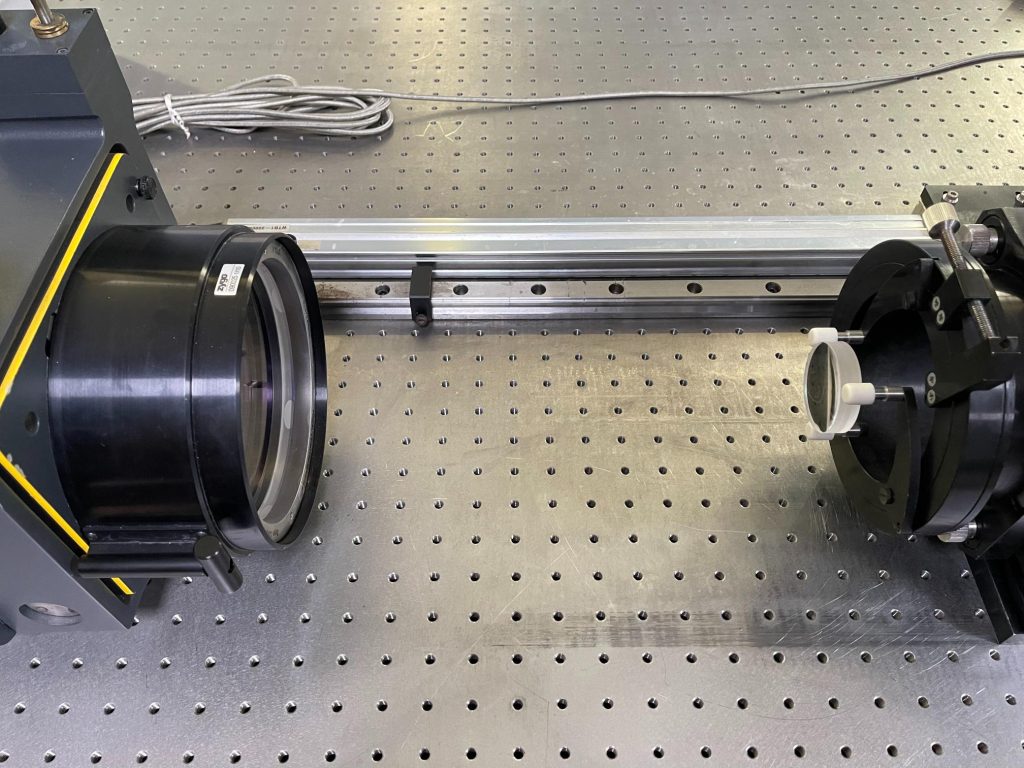
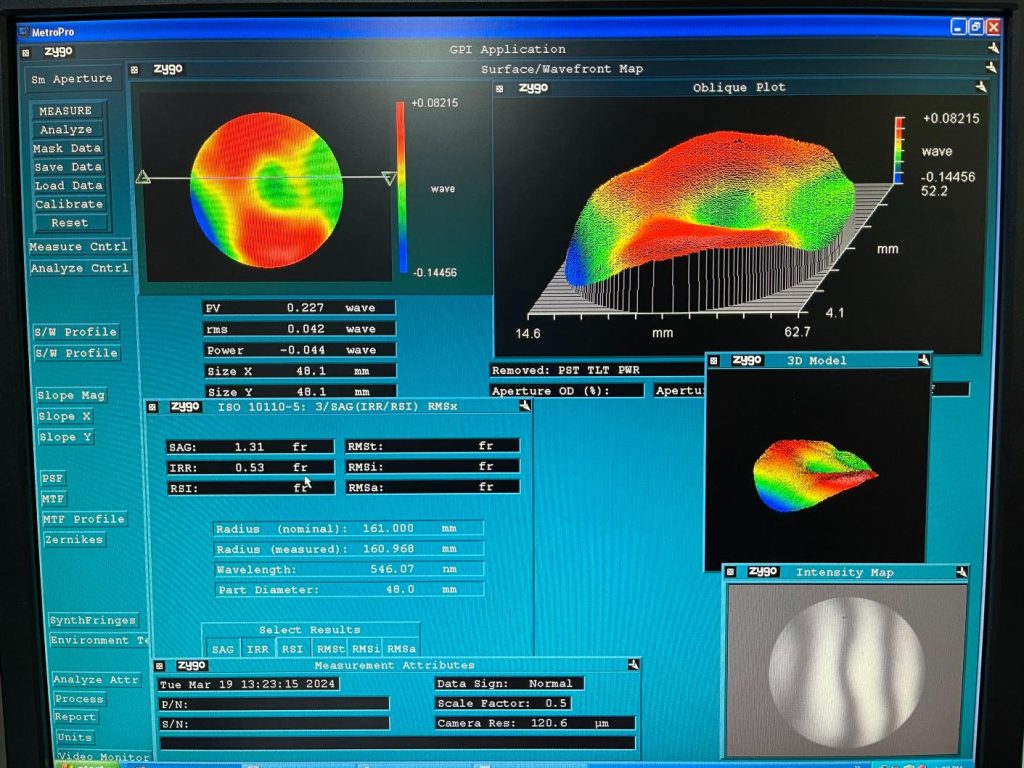
stitching interferometry is a type of asphere metrology that maps portions of lens and stitches together the resulting maps
Computer-generated holography
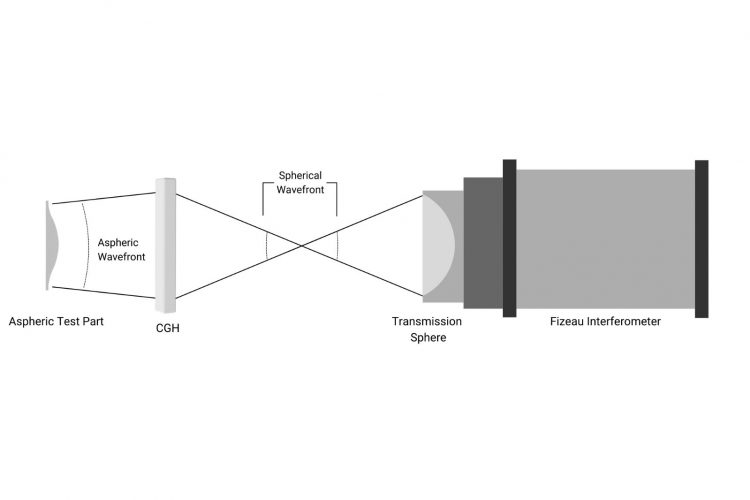
Another way of adapting interferometers to aspheres involves computer generated holograms Here, the spherical wavefront on the interferometer’s transmission element is modified by computer-generated holograms to create a new, aspheric wavefront that matches the surface profile of the optic. The computer does this by fabricating a pattern on a substrate, and this pattern is used to diffract a wavefront and create a null reference wave. Computer generated hologram metrology is the only method of measuring aspheres with high slopes of aspheric departure.
A new CGH must be created for each asphere, making this method only practical for large volume production. CGH interferometry also cannot be used with aspheres that have points of inflection, and additional measurements are needed if accurate data is needed for the radius of curvature of the optic.
Chromatic Confocal Sensing
In chromatic confocal sensing, a surface is lighted up with a white light point source emitted from a chromatic pen. Different wavelengths of light will focus at different axial differences, and this chromatic aberration can be used to determine the surface profile of the optic. The wavelength of light returned to the sensor after a return trip to and from the test optic is used to determine the distance to the optic at each point, and thus the presence of dips and ridges can be elucidated.
Multiwavelength Interferometry
Still another type of optical profilometry is multi-wave interferometry. Here initial length measurements are taken with one wavelength of light, then more wavelengths are added in to make the measurements more accurate. This method is quick, flexible, and precise, but the equipment needed is expensive.
Table: A comparison of different asphere metrology techniques
Metrology Method | Full Surface Map | PV | RMS | Flexible Lens Geometry | Time of Measurement | Precision | Cost |
2D Contact Profilometry | Yes | Yes | High | Short | High | Low | |
Stitching Interferometry | Yes | Yes | Yes | Intermediate | Long | High | High |
Computer-Generated Holography | Yes | Yes | Yes | Low | Intermediate | Medium | Low-High |
Chromatic Confocal Sensing | Yes | Yes | Yes | Intermediate | Long | Low | Moderate |
Multiwavelength Interferometry | Yes | Yes | Yes | Intermediate | Short | High | High |
As the use of aspheres in optics increases, asphere metrology becomes more and more important. At Avantier, we manufacture and test high quality custom aspheres, and we can work with you to design a metrology solution that meets your specific needs.
GREAT ARTICLE!
Share this article to gain insights from your connections!


