Microscope Objective Manufacturing Process Highlights
- The production of microscope objectives involves a meticulous process to create high-performance components for compound microscopes. Key parameters like numerical aperture (NA), field of view (FOV), focal length, refractive index, and resolving power are carefully defined to optimize imaging system performance.
- Design considerations include long working distance, spectral range, and aberration corrections, particularly for achromatic objectives, to ensure high image fidelity. Corrected objectives minimize distortions, often leveraging advanced optical designs for superior resolving power.
- During fabrication, multi-layer coatings enhance light transmission across the spectral range, and precision alignment in cleanroom environments ensures stability and clarity. Final calibration with laser interferometry and MTF testing guarantees that the objectives meet rigorous standards.
- The result is an optical device designed to magnify the image of an object, delivering exceptional image quality and chromatic aberration correction.
Table of Contents
Microscope Objective Manufacturing Process
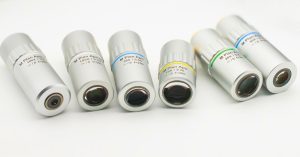
With over 25 years of expertise in the design and manufacture of microscope objectives, Avantier has refined advanced technologies and developed a deep knowledge of production. We specialize in creating a comprehensive range of flat-field achromatic, semi-apochromatic, and apochromatic objectives, spanning magnifications from 2X to 100X, including industry-standard powers (e.g., 2X, 4X, 10X, 20X, 40X, 60X, and 100X) and specialized non-standard magnifications such as 1X, 3X, 5X, 15X, and 133X. For applications requiring exceptional precision, our super-apochromatic objectives provide enhanced image fidelity and reduced chromatic aberration. Our commitment to optical innovation has positioned us as an industry leader in high-performance microscope objective design and manufacturing, integrating cutting-edge optical technologies, meticulous mechanical engineering, and rigorous quality assurance protocols.
Outlined below is an overview of our microscope objective development and production process:
1. Preliminary Requirement Analysis and Design Planning
- Requirements Definition: In the initial design phase, we collaborate with clients and industry experts to identify specific application requirements, covering areas such as life sciences, materials research, and industrial inspection. Key considerations include imaging resolution needs and any specialized spectral requirements (e.g., fluorescence or IR microscopy) that inform the design parameters.
- Concept Development and R&D Initiation: With clearly defined requirements, our R&D team formulates a detailed design plan that balances client specifications with our technological capabilities. This phase includes establishing foundational design factors—optical architecture, material selection, and production processes. Multiple rounds of technical reviews and design optimizations are conducted to finalize the plan.
2. Optical Design and Simulation
- Determination of Optical Parameters: Our optical engineers establish essential parameters—such as magnification, numerical aperture (NA), working distance, and field flatness—tailored to the application. These parameters directly influence image quality and usability.
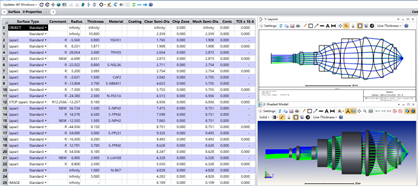
- Optimization of Chromatic and Spherical Aberrations: Known for our high-level chromatic and spherical aberration correction, we use sophisticated optical design software (e.g., Zemax, Code V) to optimize lens shapes, material pairings, and alignments, ensuring stringent aberration control. For high-end objectives, we utilize super-apochromatic designs to achieve maximal imaging fidelity.
- Simulation and Tolerance Setting: Engineers perform extensive simulations to validate design viability and set precise tolerance levels for critical attributes such as lens curvature, thickness, and alignment accuracy, ensuring consistency in mass production.
Explore our guide to IR lenses for thermal imaging, diagnostics, and defense. Customizable options ensure precision across diverse applications.
- Engineering Drawings and Design Documentation: After finalizing the design, Avantier prepares comprehensive engineering drawings and detailed design documentation detailing each parameter. These resources are crucial for guiding production and ensuring quality control.
3. Mechanical Design and Material Selection
- Lens Barrel Engineering: Our mechanical engineering team designs precision barrels to ensure the accurate positioning of lenses and alignment of the optical axis. Key mechanical considerations include thermal stability, mechanical resilience, and ergonomic handling for end users.
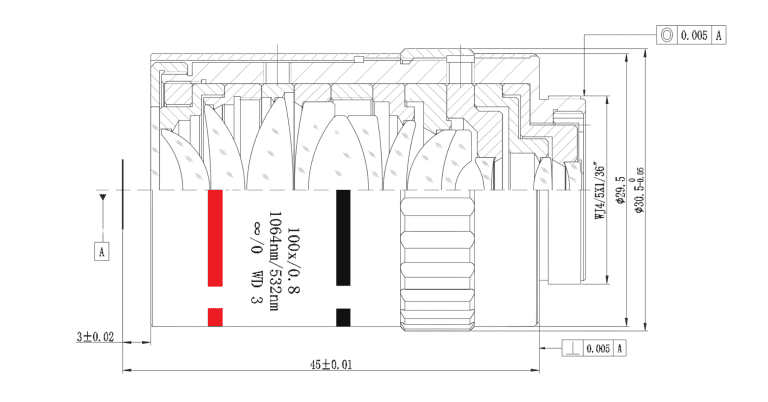
- Material Selection and Surface Treatment: Barrel materials are chosen for strength and durability (e.g., high-grade aluminum alloys, stainless steel), with specialized surface treatments like anodizing and blackening applied to enhance longevity and minimize internal reflections. For demanding environments, we use materials with enhanced heat and radiation resistance.
4. Optical Component Fabrication and Coating
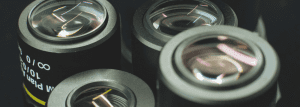
- Precision Machining: Utilizing advanced optical fabrication equipment (e.g., CNC grinders and polishers), we achieve nanometer-level precision in surface quality, aligning each lens with stringent design specifications.
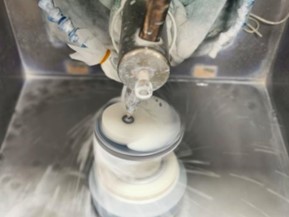
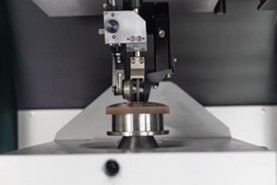
- Polishing and Interferometric Inspection: Each polished lens undergoes interferometric testing to validate surface accuracy and ensure freedom from defects. Strict control over wavefront errors is maintained to uphold imaging quality, especially at high magnifications.
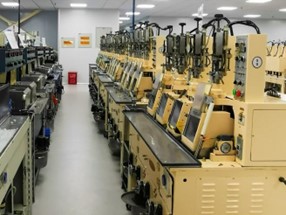
- Advanced Coating Techniques: Employing state-of-the-art multilayer coating processes, we maximize light transmission while minimizing dispersion and reflections. Depending on application requirements, various coatings are applied, including anti-reflective, fluorescence-optimized, and corrosion-resistant treatments. Each coating undergoes thorough quality inspection for uniformity and endurance.
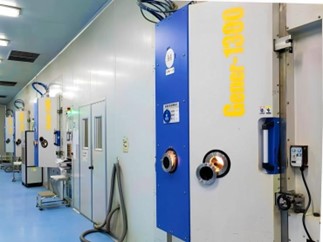
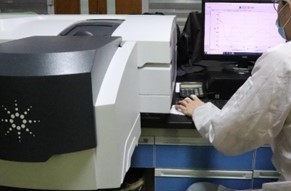
- Lens Adhesion Process: The technician applies UV-curable adhesive to the designated surfaces of the lenses requiring bonding. Following the specifications outlined in the technical drawings, the lenses are aligned and bonded, utilizing a centering instrument to ensure precise eccentricity adjustment. Once the alignment is confirmed, the assembled lenses are placed in a UV curing chamber for a duration of 12 hours to achieve optimal adhesion.
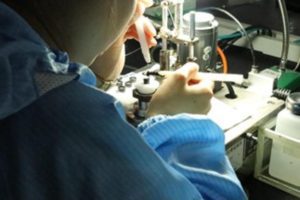
- Lens Blackening: To reduce unwanted reflections, the measurement surface of the lens is treated with a black coating that mitigates stray light interference from the lens edges, enhancing overall optical efficiency.
5. Mechanical Processing and Barrel Assembly
- Barrel Fabrication: Utilizing CNC machining, lens barrels are crafted to precise specifications, enabling accurate alignment and smooth operation.
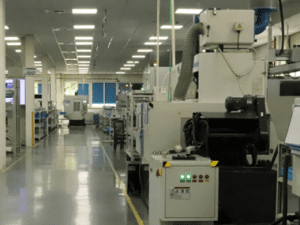
- Surface Finishing: Barrels undergo treatments such as anodizing or blackening to further reduce internal reflections and bolster durability. For applications in challenging environments, additional treatments are applied to enhance corrosion and wear resistance.
6. Assembly and Optical Axis Calibration
- Cleanroom Assembly: Objectives are assembled in a cleanroom environment to minimize contamination risks, with strict protocols followed to maintain specified lens distances and angles for optimal performance.
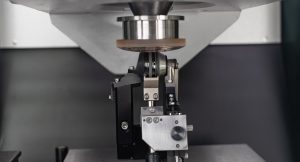
- Optical Axis Calibration and Fine Adjustments: Using laser interferometers, technicians perform high-precision optical axis alignment, ensuring each objective meets exacting standards. Deviations are adjusted to prevent image degradation.
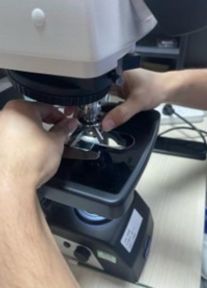
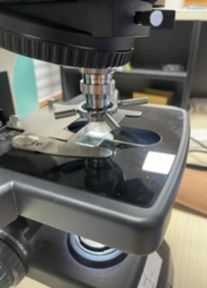
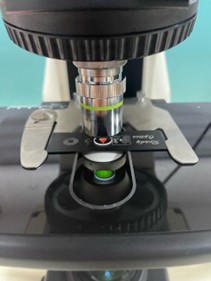
- Comprehensive Functional Testing: Each objective undergoes exhaustive testing to confirm focal length accuracy, field flatness, and chromatic aberration correction. Fine adjustments are made as needed to meet performance expectations.
7. Quality Inspection and Testing
- Modulation Transfer Function (MTF) Testing: MTF testing evaluates image resolution and contrast across varying spatial frequencies, verifying that objectives meet our stringent quality criteria.
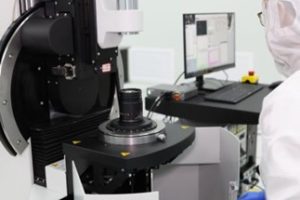
- Environmental Reliability Testing: Objectives are tested under simulated environmental conditions to assess performance across different temperatures, humidity levels, and mechanical stresses, ensuring stability and resilience.
- Final Inspection and Certification: Each objective undergoes aesthetic and functional inspections to confirm it is free from optical and mechanical defects. A quality inspection report and certification accompany each unit.
8. Cleaning and Packaging
- Final Cleaning and Dustproof Packaging: Objectives are meticulously cleaned and packaged in dustproof, anti-static materials to ensure safe transport and storage.
- User Documentation and Warranty Information: Each package includes a comprehensive user manual, quality certificate, and warranty documentation, supporting client confidence and satisfaction.
Through these precise and disciplined production stages, our microscope objectives excel in delivering unmatched resolution, chromatic aberration correction, and light transmission. They exhibit remarkable stability, reliability, and durability, meeting the stringent standards required for advanced research, clinical, and industrial applications.
Summary of Microscope Objective Manufacturing Process
Avantier’s commitment to excellence in microscope objective manufacturing is evident in every stage of our meticulous process. From initial requirement analysis to final inspection and packaging, our team prioritizes precision, innovation, and stringent quality control to deliver objectives that meet the high standards for advanced research, clinical, and industrial applications. Our approach, combining cutting-edge optical design, high-performance coatings, and precise mechanical engineering, ensures that each objective provides outstanding resolution, reliability, and durability. With Avantier as your partner, you gain a trusted ally in achieving unparalleled imaging quality and performance.
WE CAN HELP YOU!
Contact us NOW for sales & expert advice.


